
Lets waste no time and get right to it then!
Materials:
Plasticard (For Sale signs)
Cardstock
Tools:
Super glue
Hobby knife
Cutting mat
Straight metal ruler
Scotch tape
Hot glue gun
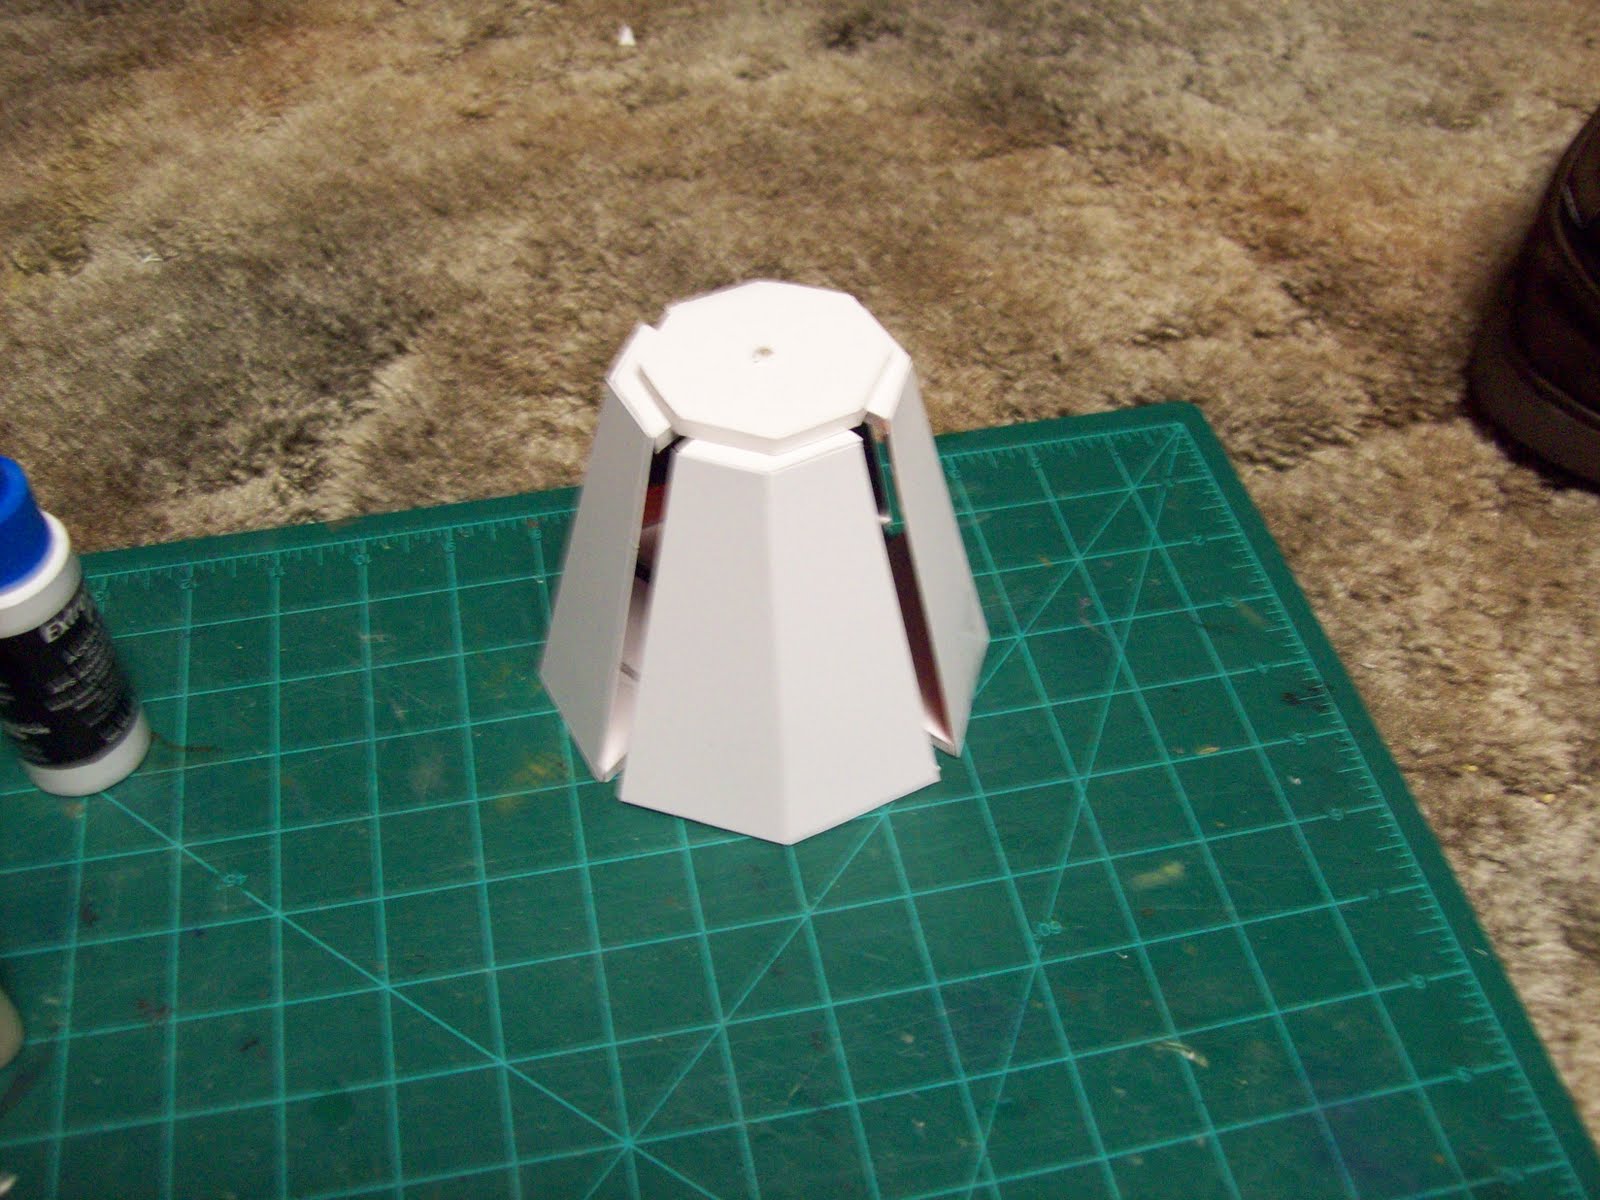
Begin by taking the 4 wall shapes set aside earlier. Starting with one side, align it with the top and bottom portions of the previous piece we put together. Hold these in place for now using the scotch tape. Then place the opposite side in place using the same technique as before.

Now place the third wall in place. The reasoning for this is to ensure the drop pod isn't leaning heavily to one side. Using the glue gun, glue these into place. Finish this step by gluing the fourth wall into place.
Using your hobby knife cut away any of the excess tape on the outside and the inside of the drop pod.
Set that bit to the side and use the following template to make 8 pieces of each image. This will serve to be the trim for the leg pieces of the Dreadclaw.

After completed, glue the trim pieces to the legs. When you are finished, it will look like this:

Now take the other piece on the template and glue it to the leg piece just like it appears in the image below:

Now we can set those aside (we do that a lot, eh?) and go back to the medium sized octagon we cut out in the first part of the tutorial. Direction in the center cut a hole with a diameter (from one side of a circle to another) of 2 1/4".

Using the medium octagonal template cut a piece from the plasticard. This time, cut a circle in the direct center that is 2". Glue the two pieces together.
Now grab the next template available.

Cut 5 pieces using this template out of the Plasticard. Glue the 5 pieces together in a circular pattern so that the piece looks like the below image and glue it to the piece of Cardstock. This can be very tricky, so be careful!

This will be the bottom hatch of the Dreadclaw.
While people won't generally see this portion of the model, it's always nice to add all the effects we can for completeness sake.
Well, I think that is enough to keep people busy over a weekend. It certainly took me long enough to cut the trim for the leg pieces out! Next week we will attach the bottom walls of the Dreadclaw, attach the hatch, and do the trip pieces for the walls.
Take care everyone and have a great weekend!
Awesome man :) keep it up! Just a quick question, on your post on bols you mentioned that you built landriders, could you post pictures of it and maybe the blueprint? Keep up the good work!
ReplyDeleteIndeed I did. I don't have any templates for that one, I'm afraid. Also, the Land Raider I built was a MK1 design (which you can see in the image scroll on the top left of the blog). However, I can add the modern Landraider to the list of tutorials, if that would be ok.
ReplyDeleteOh man that would be awesome! You realy do a great job :)
ReplyDelete