Showing posts with label Dreadclaw. Show all posts

Wednesday, June 15, 2011

Scratch built dreadclaw painting progress 2

Welcome back everyone to another update on the Dreadclaw.  Over the weekend I was able to do a little painting on the scratch built model to bring out some of the definition.


I'm debating adding more rust to the center areas so they don't look so immune to the process.  As it stands now they sorta stick out.  Hopefully I'll be able to fix that soon.

Other changes that will be coming up will be some details made to the bottom of the Dreadclaw, painting the wires at the top, and adding Nurgle symbols to the appropriate places (as fits the theme of my current army).  Overall I like the look so far and will hopefully have a completed model on Friday.  Till then, take care!

Monday, June 13, 2011

Paint Progress- Dreadclaw

Welcome back to Scratchbuilt 40k.  I have a very short update on the painting progress on the Dreadclaw and thought I'd share with you gentle readers the paint holder I built just this morning.

First, the Dreadclaw:


As you can see, it has a very basic design so far.  From the primed dark green I used a light green and cream colored spray paint to dust the model and give the base coat some variety in color.  As I don't have an air brush I have to make due with the tools I have!

The trim is colored with a dark green which will eventually be highlighted appropriately  with lighter greens.  The splotches placed in random areas is the first coating of Sophisticated Finishes' Iron Metalic Surfacer, which will get another coat (as best I can) and then once dried covered in the Rust Antiquing Solution.  I'll be sure to take better pictures once the model is completed.

Speaking of paints, I've decided to use the spare wood in the garage to build myself a paint bottle station.  I find I'm always reaching for the wrong bottles have a general hard time finding the paints I wanted when they were strewn haphazardly (or willy-nilly, if you prefer) in cardboard boxes.

So ta-daa!  Scratch building isn't just for miniatures, it seems.


Though some of the wood is a little bent, I can fix that later if it becomes a problem.  For now, though, I think this will serve me better than the previous set up I was using.  If you would like to share your painting/hobby stations, the comments section would be a great place for the link as I'd love to see how everyone else is set up.

Finally, the poll which asks that question which every 40k player gets asked is coming along nicely.  Since I've only been able to cover 2 vehicles so far, it's no surprise to see Chaos Space Marine players are leading the pack.  Plans are in the works for a scratch built Dreadnought and Landraider (latest model) tutorial, after which I'm planning tutorials for players of the other armies. 

That's it for this update.  On Wednesday we'll see how the rust turned out.  Till then, take care!

Saturday, June 11, 2011

Primed and ready to paint Dreadclaw

Ok, quick and easy post for all who are interested to see what the Dreadclaw looks like primed.  Still a long ways to go before it is finished, though.


 As you can see it has a long way to go before it is even close to finished.  The trim will be a dark green with highlights and the whole model will be covered in various areas with the rust effects featured in previous posts.

I'll update the blog with images as it comes along.  Till next time, take care!

Friday, June 10, 2011

Chaos Dreadclaw Tutorial 4

Welcome to the final installment of the Dreadclaw tutorial.  This one is a doozy, so lets get right on it!  When you finish this tutorial, the Dreadclaw will look something like this:


So on to the tutorial!


Materials:
Plasticard
Wire
Bic pen
Cardstock

Tools:
Hobby knife
Cutting mat
White glue
Hand drill with small copper tube

Last image from Dreadclaw Tutorial 3:


Using the template provided below, cut the plasticard to make 8 pieces of trim.  Using the white glue, position the trim pieces over the bottom areas.


Take a sheet of plasticard and place it on the bottom portion of the dreadclaw, tracing out the bottom shape.  Cut the piece out and cut a hole in the center the same size as the hole in the hatch.  Glue the hatch into place using the super glue.  Finally, glue the bottom piece into place so it looks like the image below.


Using a pen casing (preferably a soft plastic which resembles the plasticard), cut the tube to make 8 pieces which are 3/8" wide.


Using the piece cut from the center of the template on this page, super glue the tubes to the middle of each piece.


This is a good place to create a design to give your Dreadclaw some flair.  For mine, I cut each piece to look like this:


Glue these into the spaces opened from the template on this page.  Next cut 16 rectangle pieces which are 1/4" by 3/8".  In a circular pattern, glue them in a circular pattern around the hatch as it appears below:


Next cut 8 squares which measure 7/8" by 3/4".  These will be used to surround the top area as seen below.


After completing this part, use the bottom template to cut 4 pieces out of the plasticard and attach to the corners of the top area still exposed.


Use the super glue to put these into place.


Now, take the copper tube and sharpen  it.  Place the tube into the hand drill and secure it.  We will be able to use this tool to make our rivets from the plasticard (and there will be a lot of them!).


Place the rivets on the trim areas of the Dreadclaw.


Using the cardstock , cut a circle which is 1 3/4" wide.  Cut another 4 pieces of the pen casing, this time angle one side of each one.


Using your wire, braid together 3 strands roughly 12" long.  Cut this strand into 4 pieces.


Superglue the pen casings to oppose each other and angling the high point inward.  Arrange the wires in a pattern of your choosing.


Glue this piece to the top, inner area of the Dreadclaw as shown below.


Now sit back and admire your craftsmanship!  The nice thing about Chaos models is they lend well to added pieces, so if you have ideas for added bits, feel free.


Monday, June 6, 2011

Chaos Dreadclaw Tutorial 3

After you complete this update, the Dreadclaw you are building will start looking like this one.


Materials:
Plasticard

Tools:
Hot glue gun
Super glue
Hobby knife
Straight metal rular
Scotch tape

First thing we want to do at this point is cut 8 pieces using the following template out of the plasticard.


Attach each of the two straight side edges to each other using the Scotch Tape like below.


Bend at the center and attache these pieces to the bottom edge of the Dreadclaw.  Glue these into place after securely taping them into place.


Continue doing this until all 8 pieces have been attached.


NOTE:  The bottom of your Dreadclaw will look slightly different than this one.  Like all things, experimentation often leads to failure as well as success.  Rest assured, these edges will be lined up properly when using this tutorial!  Ahem, on to the next bit!

We can now attach those leg pieces we put aside earlier.  Use hot glue to get the legs in place at the bottom of the Dreadclaw and secure at the top using either the hot glue or a dab of super glue.


Using the following pattern, cut 8 pieces out of the plasticard and use the white glue to secure the trim piece firmly to the Dreadclaw walls.


Next we grab this template and cut out 8 pieces around the edges, only scoring the rest of the lines to allow for easy bending at those points.


Bend at the scored sections to make it look like the below image.  Tape the top triangle part and then hot glue the creases to keep it from coming apart.


These pieces can now be applied with the bottom edge lined directly against the Dreadclaw wall and the top of the triangle piece is centered on each flat wall.


Well, that is pretty much all for this week.  Thanks everyone for following along and good luck with your scratch builds!

Friday, June 3, 2011

Chaos Dreadclaw Tutorial 2

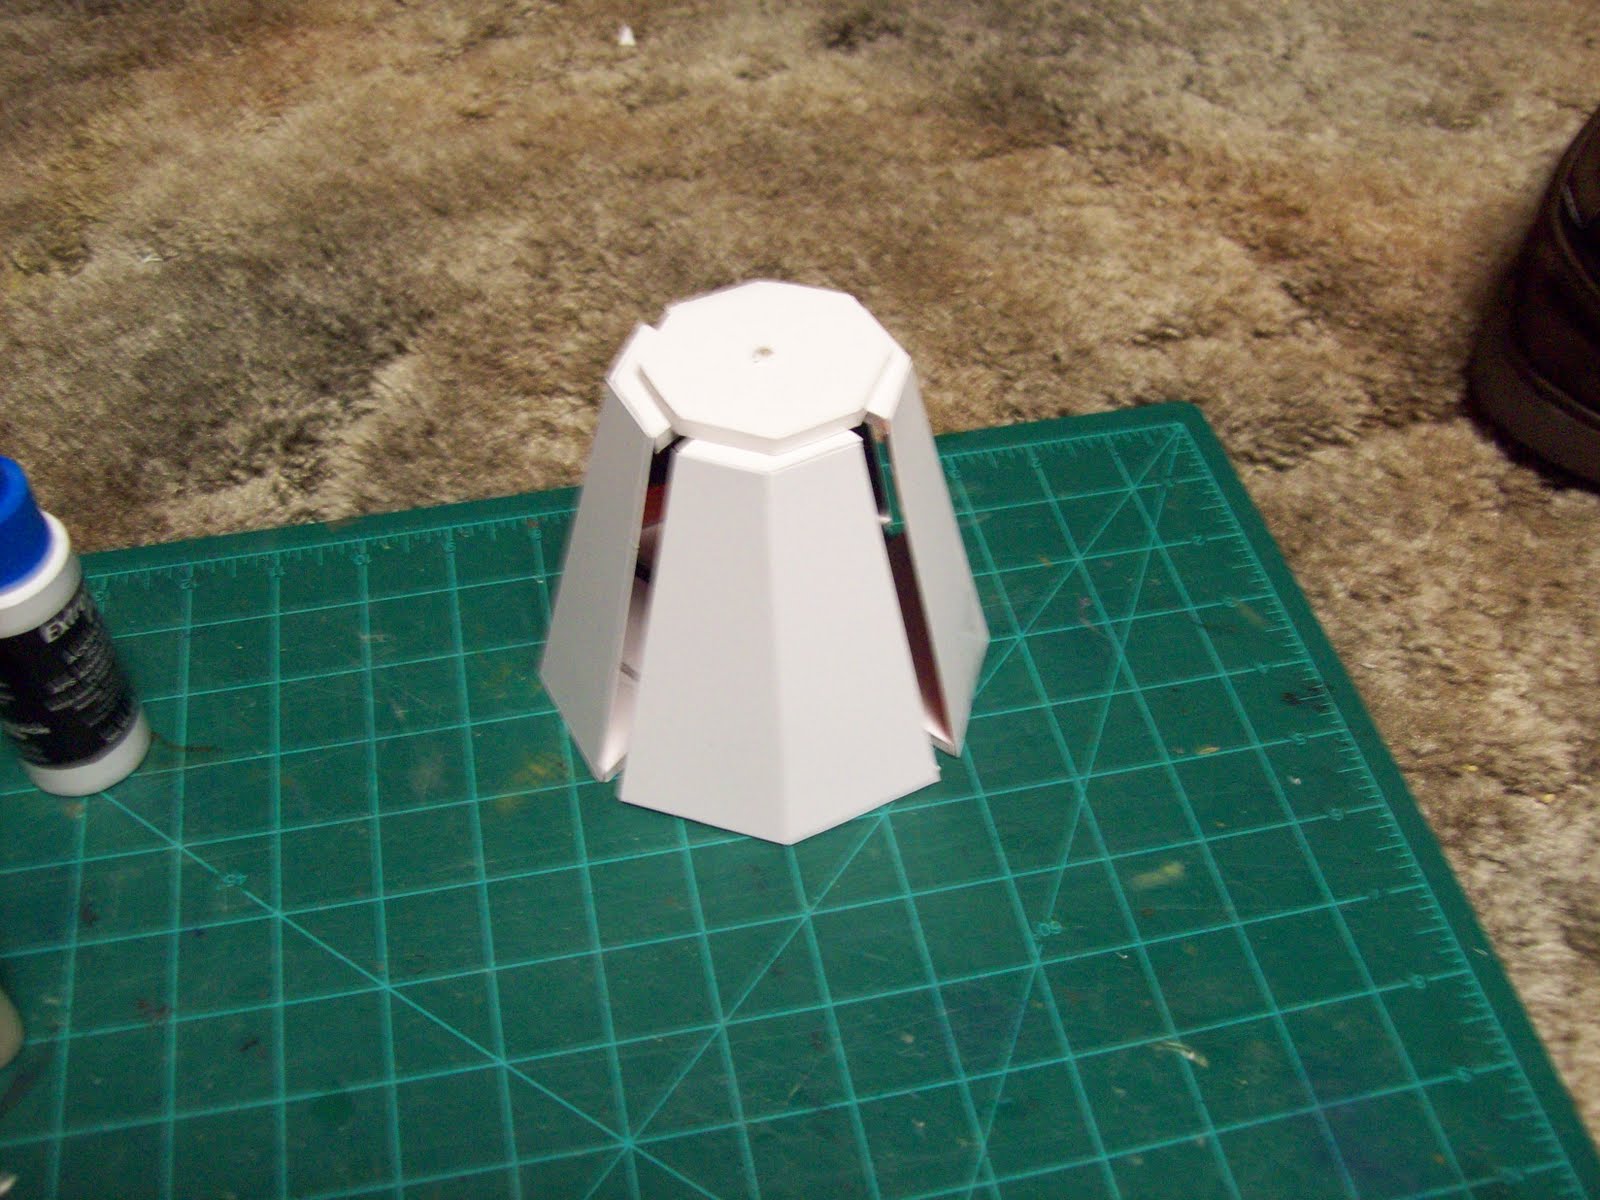
Welcome back scratch building enthusiasts!  I hope you have your hobby knives ready.  Last week we finished up with our Dreadclaw looking like this:


Lets waste no time and get right to it then!

Materials:
Plasticard (For Sale signs)
Cardstock

Tools:
Super glue
Hobby knife
Cutting mat
Straight metal ruler
Scotch tape
Hot glue gun

Begin by taking the 4 wall shapes set aside earlier.  Starting with one side, align it with the top and bottom portions of the previous piece we put together.  Hold these in place for now using the scotch tape.  Then place the opposite side in place using the same technique as before.


Now place the third wall in place.  The reasoning for this is to ensure the drop pod isn't leaning heavily to one side.  Using the glue gun, glue these into place.  Finish this step by gluing the fourth wall into place.


Using your hobby knife cut away any of the excess tape on the outside and the inside of the drop pod.

Set that bit to the side and use the following template to make 8 pieces of each image.  This will serve to be the trim for the leg pieces of the Dreadclaw.


After completed, glue the trim pieces to the legs.  When you are finished, it will look like this:


Now take the other piece on the template and glue it to the leg piece just like it appears in the image below:


 Now we can set those aside (we do that a lot, eh?) and go back to the medium sized octagon we cut out in the first part of the tutorial.  Direction in the center cut a hole with a diameter (from one side of a circle to another) of 2 1/4".


Using the medium octagonal template cut a piece from the plasticard.  This time, cut a circle in the direct center that is 2".  Glue the two pieces together.

Now grab the next template available.


Cut 5 pieces using this template out of the Plasticard.  Glue the 5 pieces together in a circular pattern so that the piece looks like the below image and glue it to the piece of Cardstock.  This can be very tricky, so be careful!


This will be the bottom hatch of the Dreadclaw. 

While people won't generally see this portion of the model, it's always nice to add all the effects we can for completeness sake.

Well, I think that is enough to keep people busy over a weekend.  It certainly took me long enough to cut the trim for the leg pieces out!  Next week we will attach the bottom walls of the Dreadclaw, attach the hatch, and do the trip pieces for the walls. 

Take care everyone and have a great weekend!