Wednesday, September 14, 2011

Personal Hobby update- on Daemons and Space Marines

Welcome back to the increasingly innacurately named Scratch Built 40k!  So much to cover, so little time!

First, the Space Marines have taken a back seat for a bit.  I've found that if I spend too much time on one army I get burnt out and stop wanting to work on anything.  Don't get me wrong, I've made progress!  20 Marines are put together, along with 5 Terminators.  Half of them still need some detail and line work, but they're almost ready for battle.

However, with the airbrush I've discovered that the Daemons I've owned could be repainted and improved in a fraction of the time they took the first time around.


As you can see, I have 18 Flamers (without arms... I hate those things) ready for battle.  The subtle blues to purples would have taken me forever to paint with a brush, and I would have relied too much on that oft despised drybrushing technique.

After seeing how easy the flamers were to paint, I decided to revisit the Soul Grinders.  The first time I hated painting them and I wasn't hot on how they turned out.  Very flat and hard to detail.  I think this is an improvement so far.


I know it's looking awful blue right now, but that is mostly the camera (I really need a nicer camera).  This was the first one I started working on.


At the moment I am struggling to find a third color to detail the model.  Any ideas?

Sunday, August 28, 2011

Hobby Friday- Two days late and a brain cell short

So over the weekend I got a few chances to play around with the airbrush.  I think there are a few successes, as well as failures which are obvious when looking at the pieces.  It will certainly help me begin to have an appreciation for the process and what it takes to properly care of a tool like an airbrush.  But who cares about that, right?  Lets see those successes and failures!


The above image was a Soul Grinder I had painted quite a while ago.  The red bits were once blue and weren't highlighted well, followed with a gold trim.  It was a tedious process to paint, and so far I much prefer the airbrush!


These are very hard to judge.  On the one hand, I didn't finish the wheel rims with the airbrush, but I'm thinking it will be easier to paint using a hand brush and add highlights using the airbrush.  The distribution of brown over the yellow is growing on me and matches the Tactical Marine in the image much better than when I used the same process as the Marine.  Hopefully when I start painting details it will look much better, but for now I'm on the fence.

Well, that is all the hobby work I did the last couple days.  Soon I will tackle making the weapons for the Las-Plas Razorback and some other bits.  Till then, take care!

Wednesday, August 24, 2011

Airbrush- A noob's first thoughts

Well, finally have had some time to try out the airbrush for roughly an hour.  There are a few things I have discovered I hadn't really thought of, and hopefully I will be able to remedy it soon.

For those who are thinking of getting an airbrush, there are a few things to consider:

1. Get a cheap toothbrush.  All that acrylic paint isn't going to remove itself, and having a gentle bunch of bristles to softly remove excess build up will pretty much be a must.

2. Start big.  After the first 5 minutes of trying to airbrush soft pieces of styrofoam, I recognized the error of my ways as they were blown willy nilly across the painting area.  Duh, right?  After fiddling with this, I grabbed an old Soul Grinder model I wasn't happy with and began a base coat of black paint for it.  This allowed me to get an idea on how to operate the brush and experiment.

3. Take notes.  Seriously, do this.  It will help you remember how being further back creates a different effect than being up close, just how much pressure you want to put on the paint release, how much paint you want for certain jobs (count the turns on the back release!), and how thick to mix your paint with water/thinning agent.

4. Figure in clean up time.  I spent roughly 10 minutes cleaning out the airbrush after using it for an hour.

5. Turn off the compressor periodically.  Yeah, I know it says it has an automatic shut off.  That there is bull-pucky.  When you see that pressure gauge sitting still at 50-60 psi, don't be afraid to reach over and give it a shut off.  You can always turn it back on again and won't risk overheating the compressor.

And most important-
6. Have fun.  It's easy to forget this step as starting out a new technique can be frustrating when it isn't working out as planned.  Seriously, just enjoy yourself.  You won't be an expert in the first week of getting it, and as long as you have a decent idea on how you like your colors you'll catch on to the nuances.

That's pretty much it for today.  As soon as I start destroying that Soul Grinder with some colors other than black I'll be sure to post up some pictures for the interwebs to laugh at.  ;)  Till then, take care!

Friday, August 19, 2011

Hobby Friday: The toys have arrived!

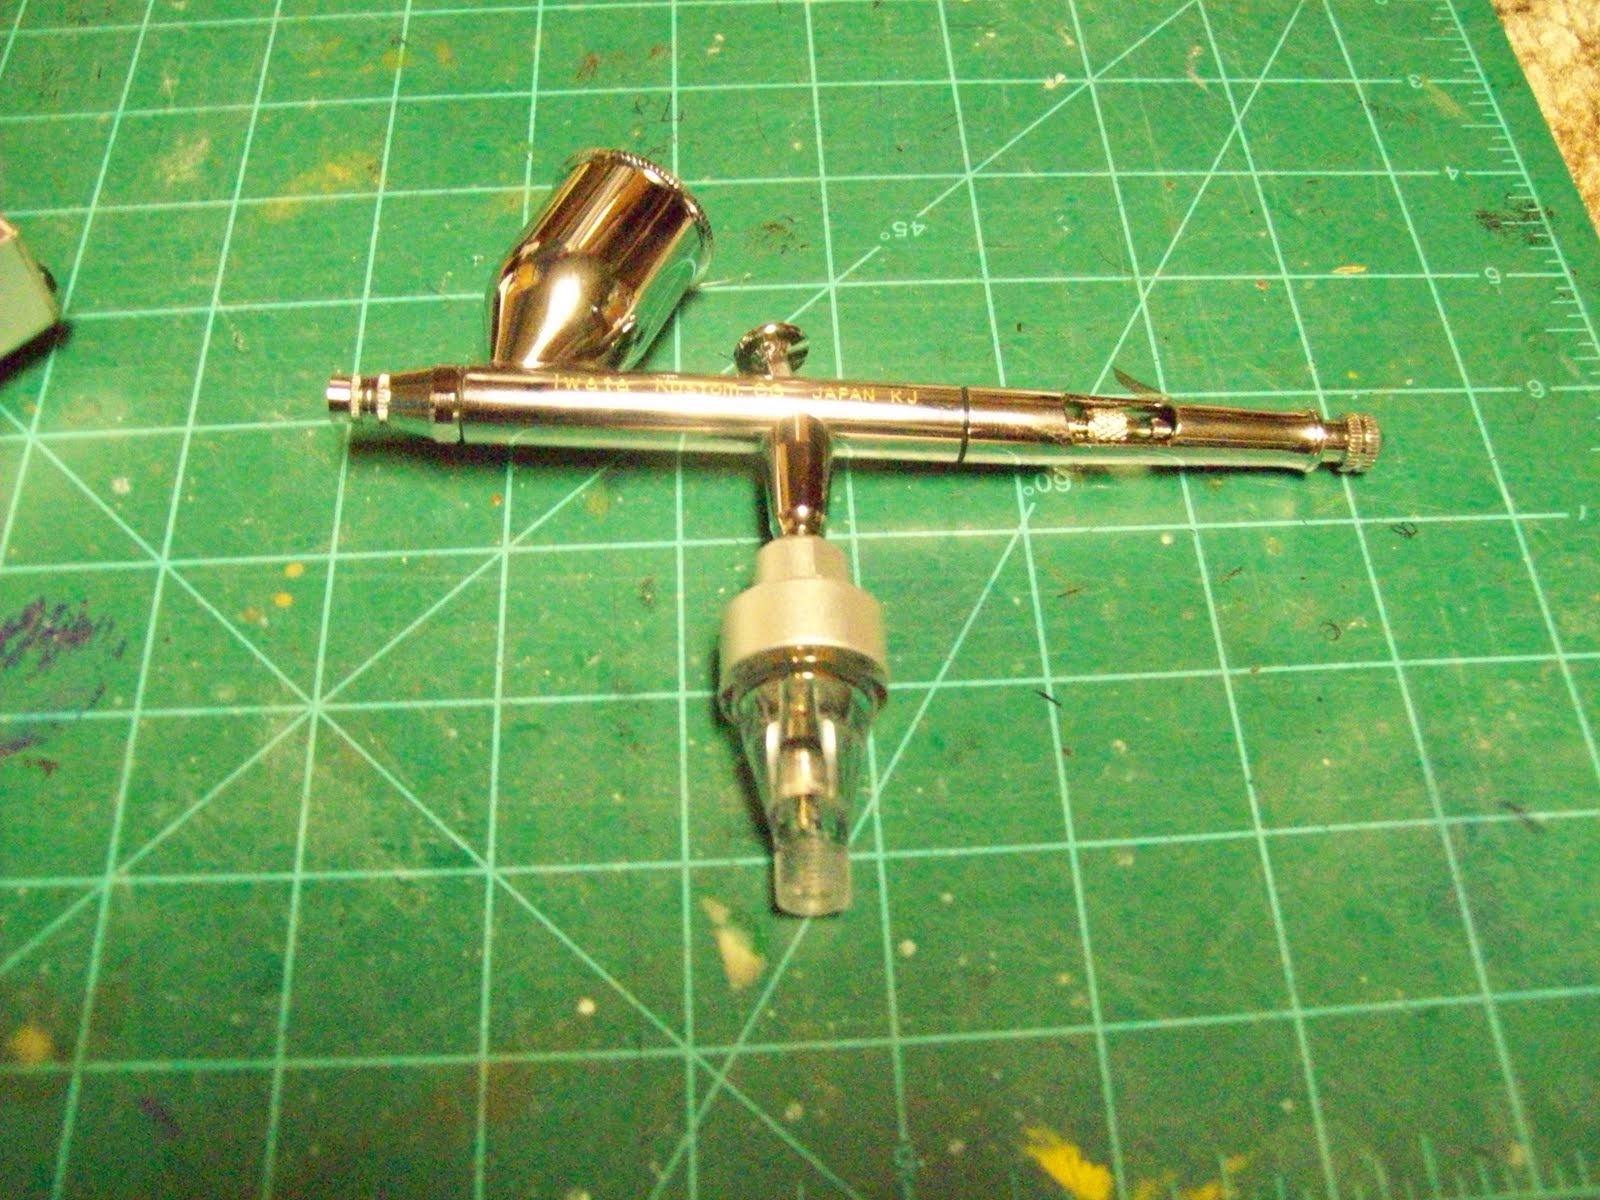
After waiting all week, my new toys have finally arrived.  First, the airbrush.

 Oh, for me?  Why, don't mind if I do!


Why hello there my new little friend!


I foresee a long, happy life together.

And now, for the bases which I will replicate for the Pride of the Emperor Space Marine army. 


I went with a ruins motif for the basing.  While I loved the idea of a more plains style, it honestly seemed a little dull.  This, however, will make my bases as striking (probably more so, really) than the models themselves!

At this point I'm still building the 3 Razorbacks and 2 Predators (which are super time consuming and aren't really image worthy yet) and putting together and altering Space Marines as quickly as I can into Assault Squads.  I set out to make a hobby army, and by golly that seems to be exactly what I have!  Ultimately this is a labor of love, and time will tell if I am able to show that in the final product.

Till next time!